

In the era of technological revolution, eCommerce competition is fiercer than ever, and the cart experience is a key battleground when designing a WooCommerce store with Elementor.
If your WooCommerce cart page is clunky, confusing, or poorly optimized, you’re likely losing valuable sales right before the finish line. Long forms, bad mobile design, and off-brand visuals can push users away in seconds.
Even better? You can fix it without touching a single line of code.
With the Cart (Page) widget, you can visually build a WooCommerce store cart page. Want to streamline field layout, tweak styles, or enhance UX for mobile users? You’ll have complete control, and no developer is required.
In this step-by-step guide, you’ll learn how to:
- Build your WooCommerce cart page from scratch
- Customize fields, layout, and design with ease
- Pro tips to improve the WooCommerce cart page
Ready to upgrade your cart from default to delightful? Let’s get started.
How to Create a Cart Page in WooCommerce in 4 Steps
Many beginners believe Elementor is all they need for WooCommerce cart customization, and to some extent, they’re right. For basic to moderately styled pages, Elementor (even the free version) does a decent job.
But let me be clear, if you’re aiming to build a truly advanced, conversion-optimized cart page to your store’s unique branding and UX goals, Elementor alone, especially the free version, won’t take you far enough.
That’s why in this guide, I’ll walk you through my go-to solution, Ultimate Store Kit, a freemium WooCommerce page builder plugin.
And I’m not alone in this. Seasoned WooCommerce developers and store owners consistently rank this plugin as a top-tier choice for those who want power, precision, and ease, all without touching a line of code.
This plugin gives you full control over your cart page, no coding required. With 80+ widgets, drag-and-drop editing, and smooth compatibility with WooCommerce, Elementor, and EDD, it’s built for those who want total design freedom without the hassle.
Let’s get started.
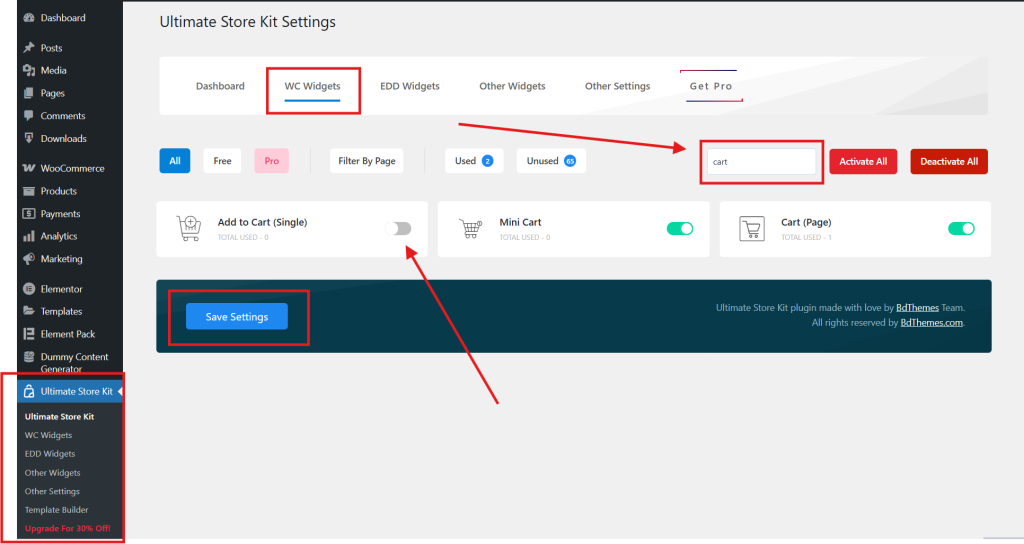
Step 1: Enable the Cart (Page) Widget
To take full control of your WooCommerce cart page, no complexity is required. With the Cart (Page) widget from Ultimate Store Kit, you can start designing instantly. Just activate it:
- In your WordPress dashboard, head to Ultimate Store Kit > WC Widgets
- Search for Cart (Page)
- Switch it ON
- Hit Save Settings
Step 2: Create Cart Page Template
First of all, you need to build your Cart Page Template. Here’s how:
- From the sidebar, navigate to Ultimate Store Kit > Template Builder
- Click Add New Template
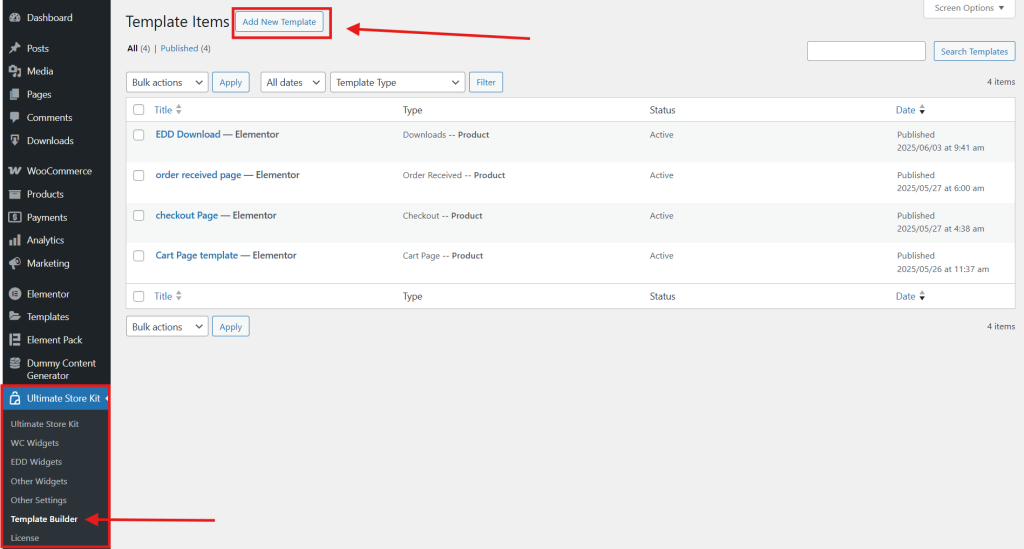
- Select the template type as Cart Page
- Type the name of your template and select Active, then press the Create Template button.
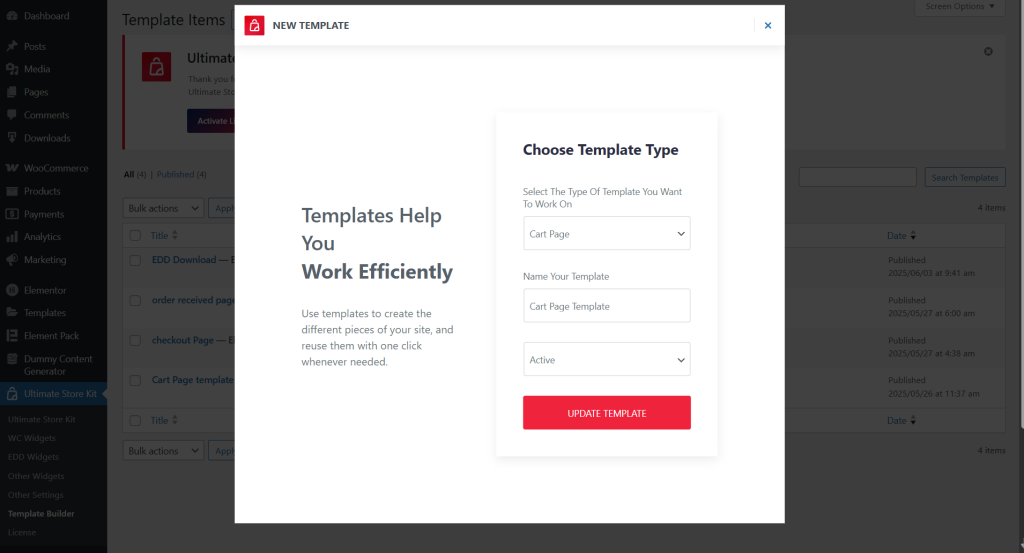
You’re now ready to design your cart experience your way.
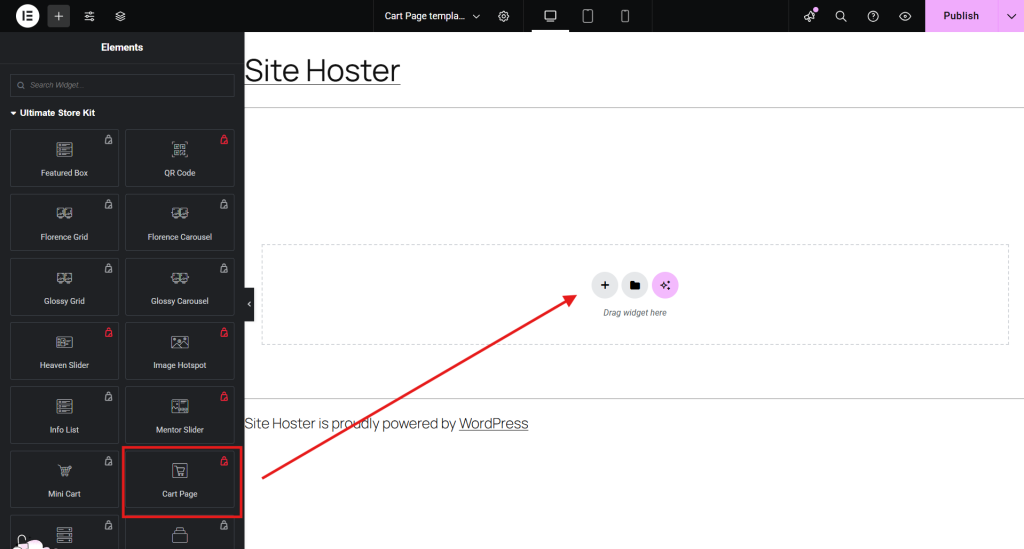
Step 3: Design the Cart Page
Once the template is created, it will automatically open in the Elementor Editor for design and customization.
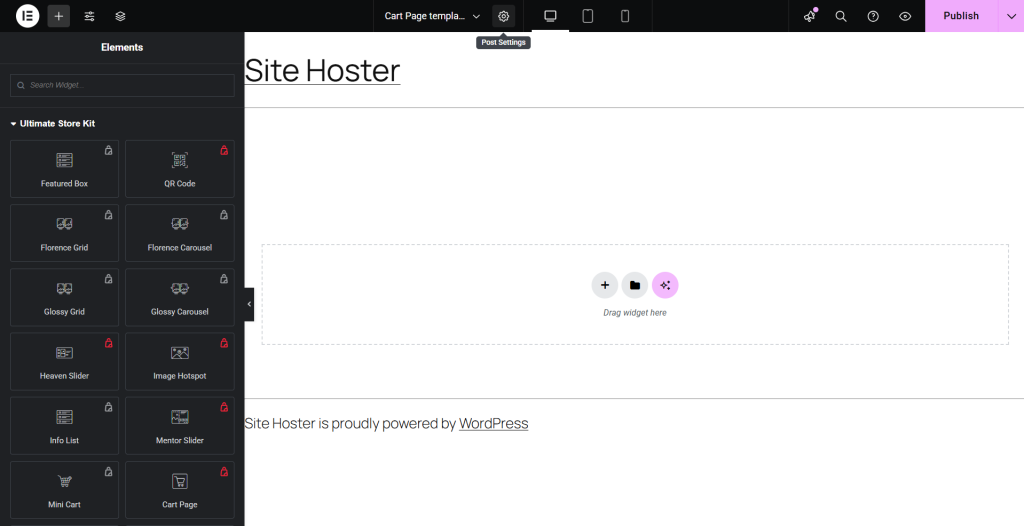
- In the Elementor editor, scroll through the widget panel and find the Ultimate Store Kit section. It houses all the eCommerce widgets you’ll need.
- Look for the Cart Page widget (you’ll spot it easily if it stands out).
- Click and drag the Cart Page widget to the main editing area where it says, “Drag widget here.” This will place it right onto your layout.
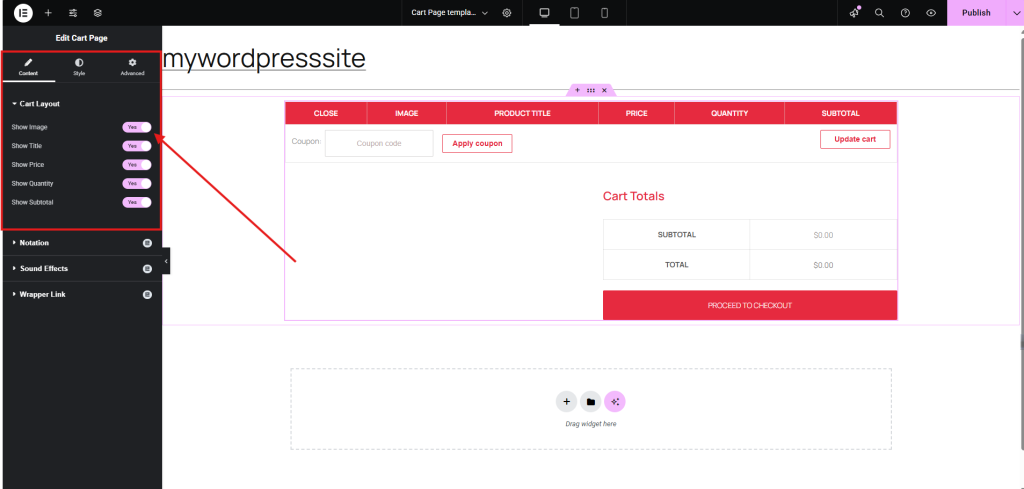
Step 4: Advanced Customization and Publish
Time to fine-tune! Adjust the content, layout, colors, spacing, and other style settings to match your store’s branding and design style.
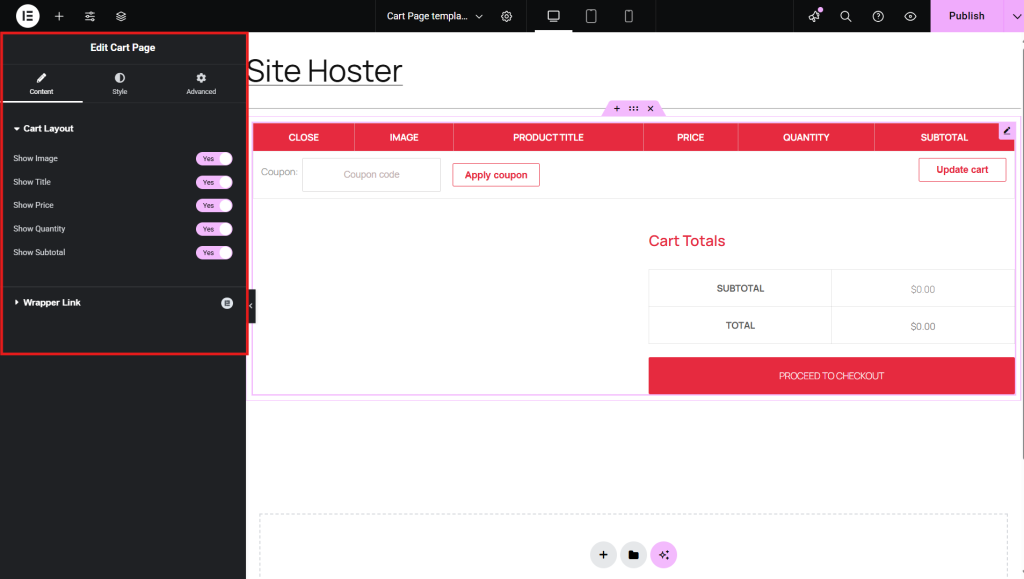
- Content
Toggle Cart Elements: Enable/disable key items that you want, like
- Product image
- Title
- Price
- Quantity field
- Subtotal
- Style
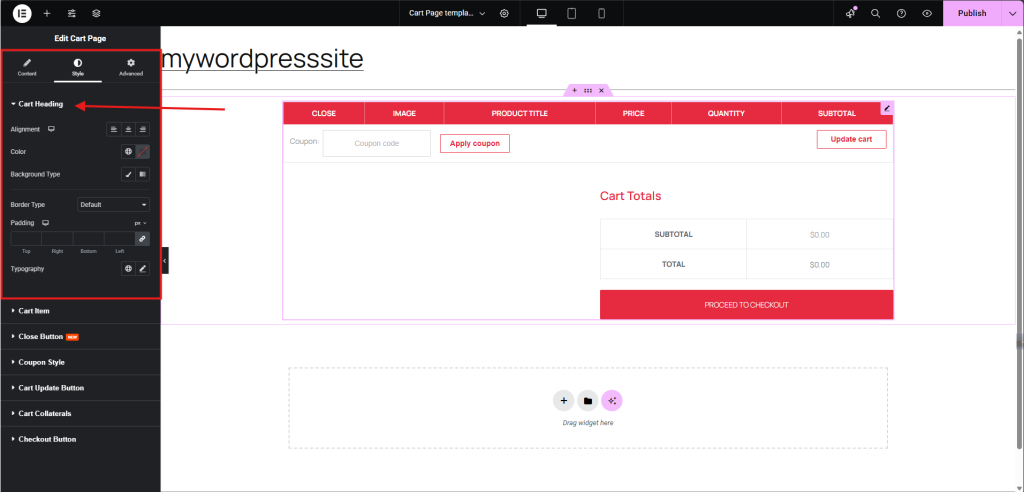
Let’s walk through how to fine-tune your WooCommerce cart page design using Elementor’s Style tab. This is where visual clarity meets conversion strategy. So every element should be intentional and on-brand.
Cart Heading: Start with your typography, set a consistent font family, adjust weight and line height for readability, and apply a text color that complements your site’s palette. Maintain clear spacing above and below to help the heading stand out without overwhelming the layout.
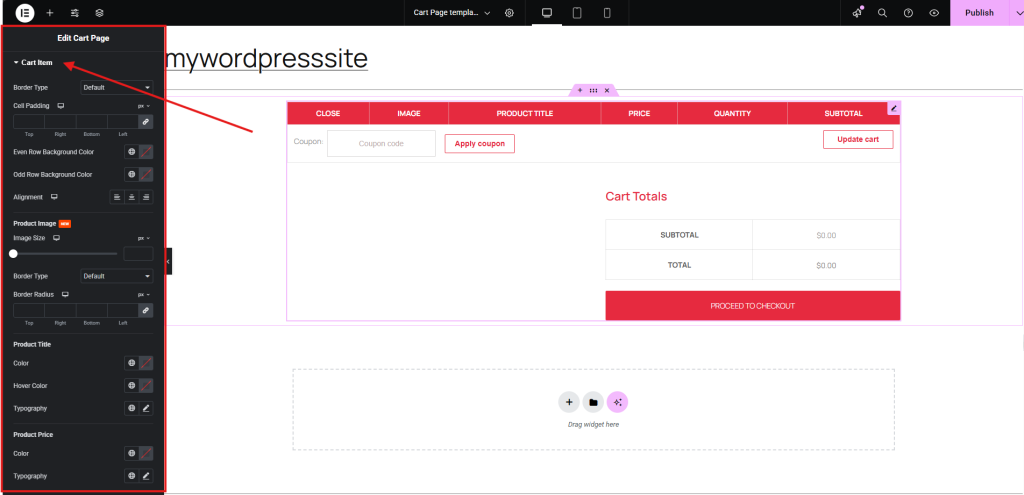
Cart Item: Ensure the cart table rows are visually scannable:
- Use background colors or subtle borders to separate items.
- Fine-tune image size and spacing to keep thumbnails proportional.
- Apply consistent typography to product names, prices, and subtotals for a unified tone.
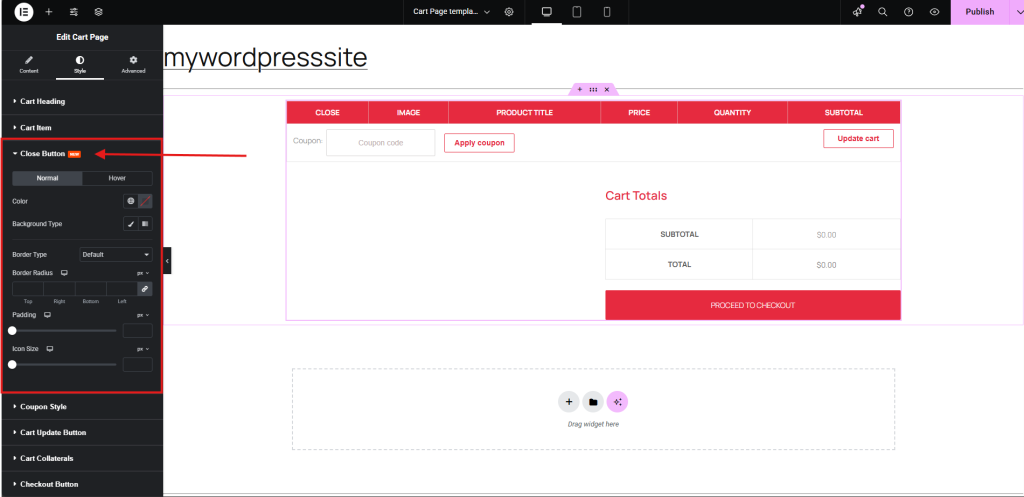
Close (Remove) Button: This should be immediately recognizable but not distracting:
- Set a bold icon color and test its hover effect for user feedback.
- Maintain consistent sizing, especially on mobile, to avoid misclicks.
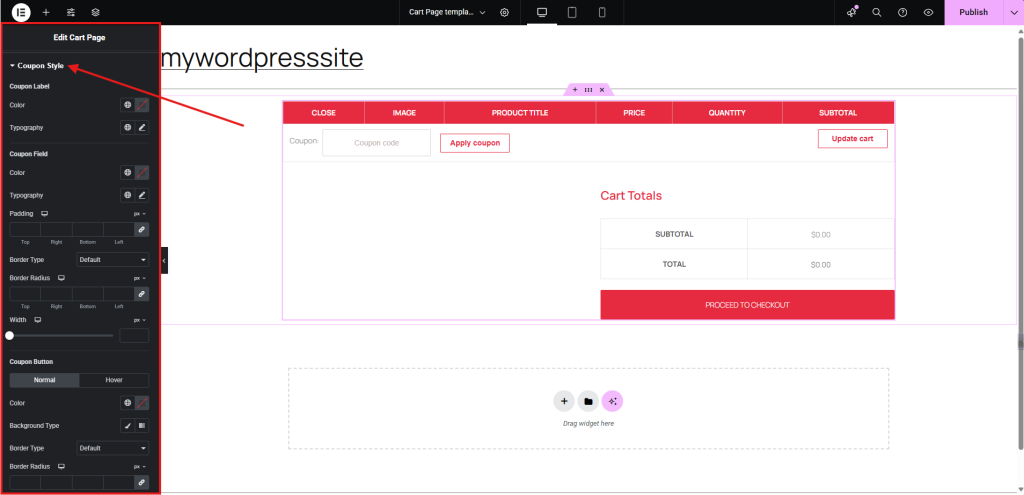
Coupon Section: For both the coupon field and the “Apply” button:
- Define padding, border radius, and background color.
- Ensure the button uses a high-contrast hue and aligns responsively next to or under the input field.
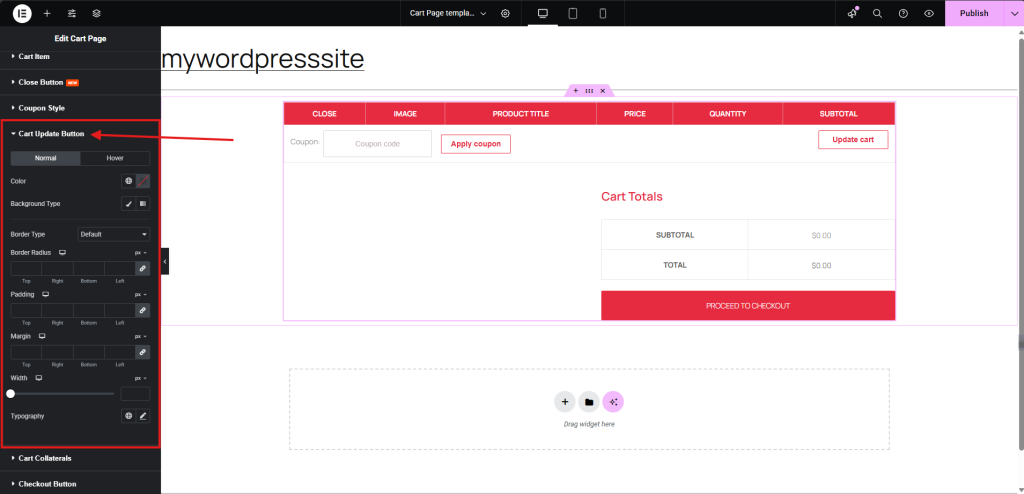
Cart Update Button: It needs to be functional and noticeable without competing with the checkout CTA:
- Tweak the background and hover color.
- Use a modest border radius and keep typography consistent with other buttons.
- Typography: Highlight total amounts clearly
- Spacing: Control spacing between rows and table items
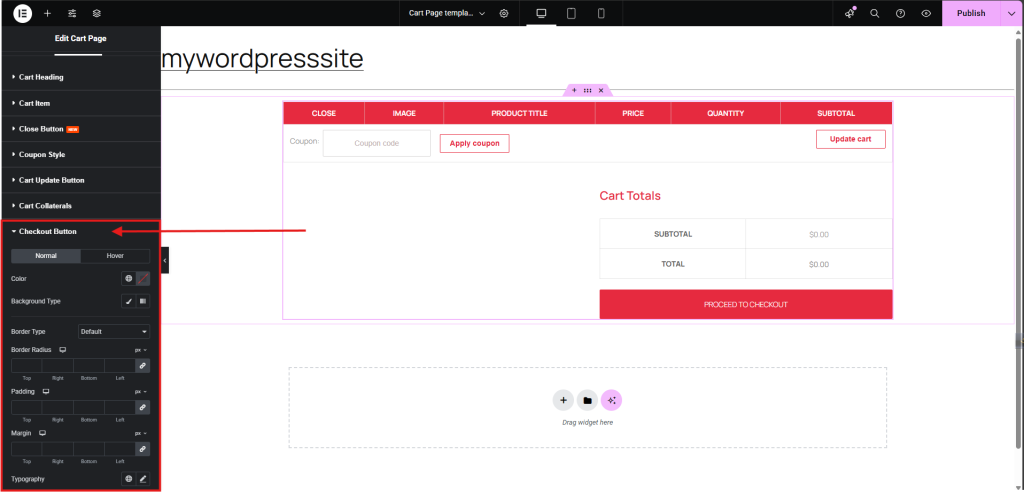
Checkout Button: This is your primary CTA, so it deserves extra attention:
- Apply a bold color that contrasts with the rest of the section.
- Use hover effects to reinforce interactivity.
- Adjust padding for tappable sizing and optionally make it full width for mobile.
- Advanced
Advanced customization options in WooCommerce give you complete control over your cart page design, ensuring it aligns perfectly with your brand aesthetics and functionality goals.
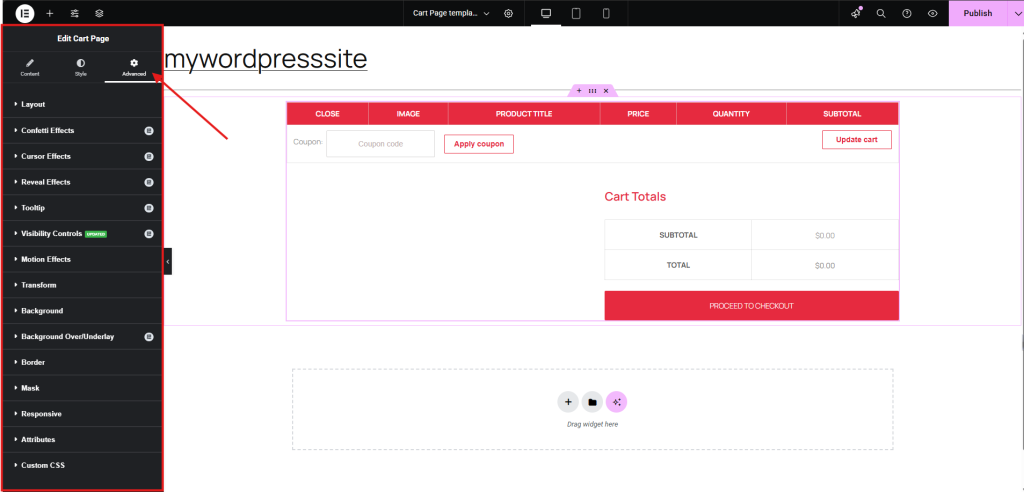
Let me walk you through how to fine-tune each setting to get the most out of your WooCommerce cart page customization:
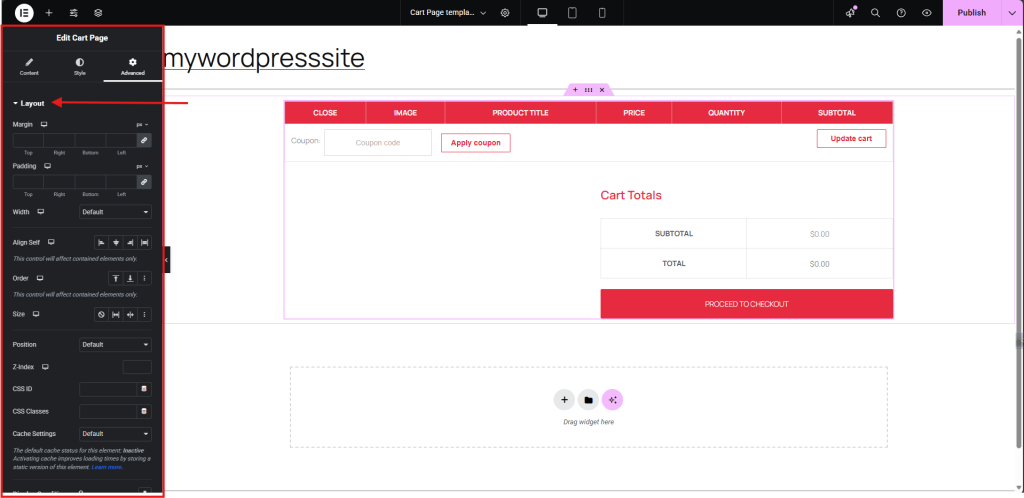
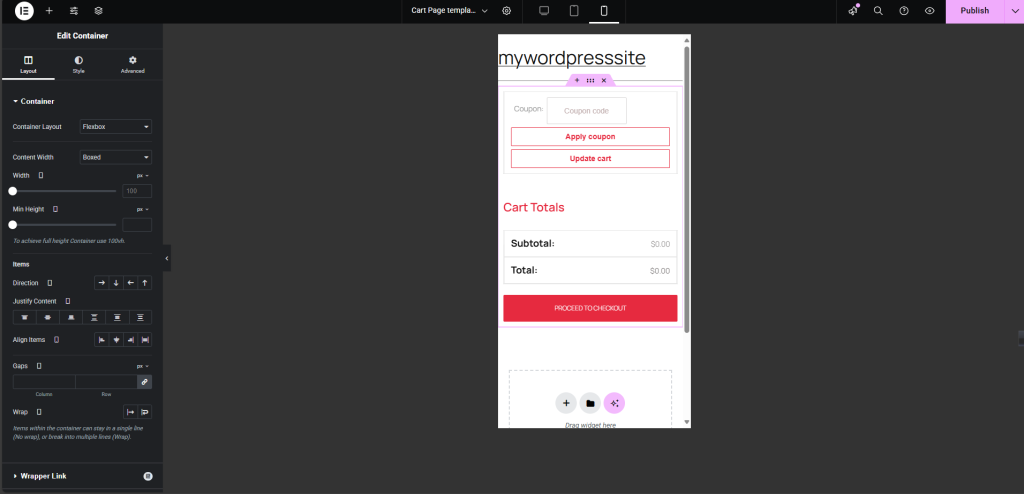
- Layout: Use this to control margin, padding, and alignment. It’s key when you’re fine-tuning spacing between widgets or making the cart layout pixel-perfect.
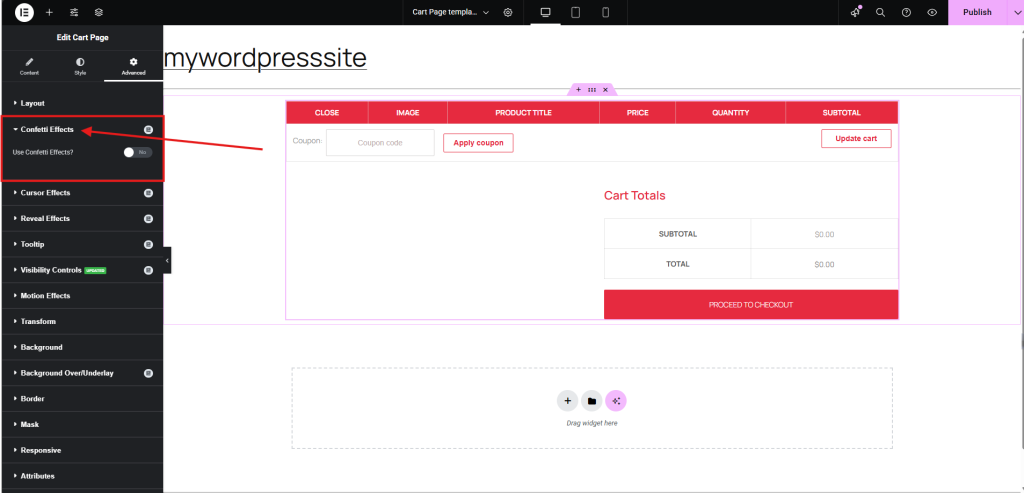
- Confetti Effects: Add celebratory animation (like confetti) on specific actions, ideal after applying a coupon or adding a product.
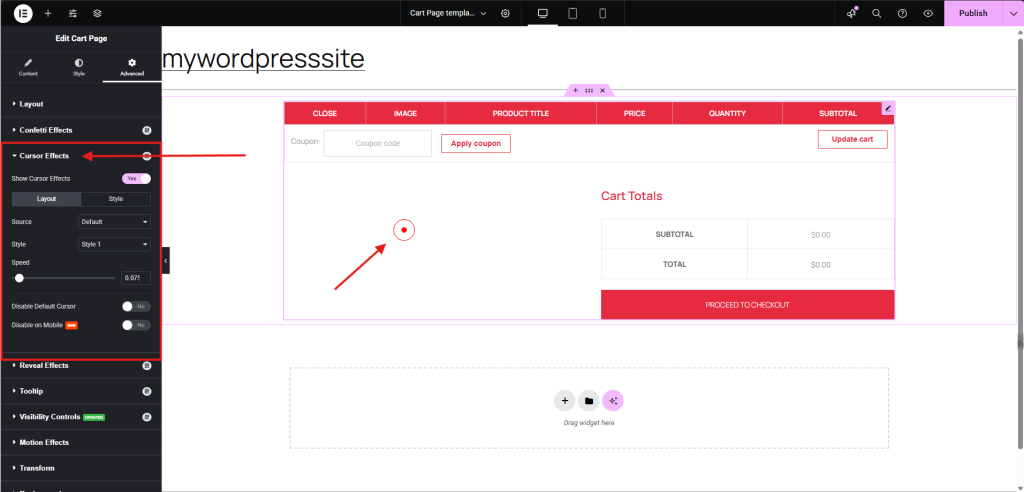
- Cursor Effects: Customize cursor behavior on hover, like changing the icon or adding effects.
- Reveal Effects: Trigger animations when elements scroll into view. This adds a smooth, polished touch to your cart page.

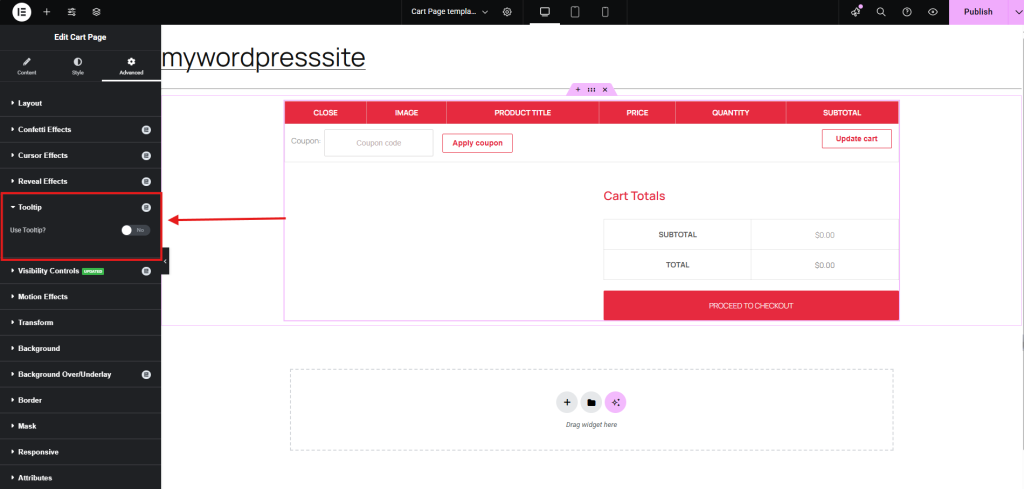
- Tooltip: Add informational hover boxes, great for explaining discounts, taxes, or shipping logic.
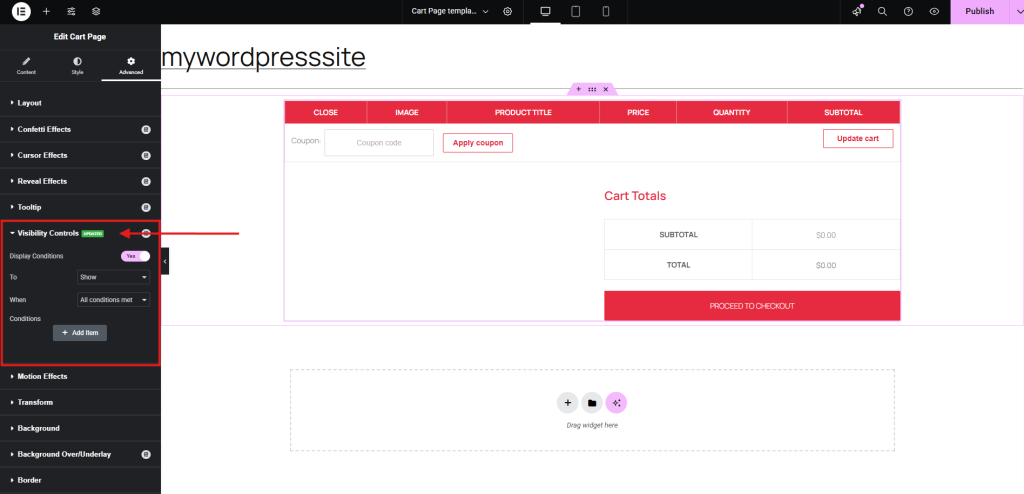
- Visibility Controls: Show or hide elements based on device (desktop, tablet, mobile) or user roles (e.g., guest vs. logged-in).
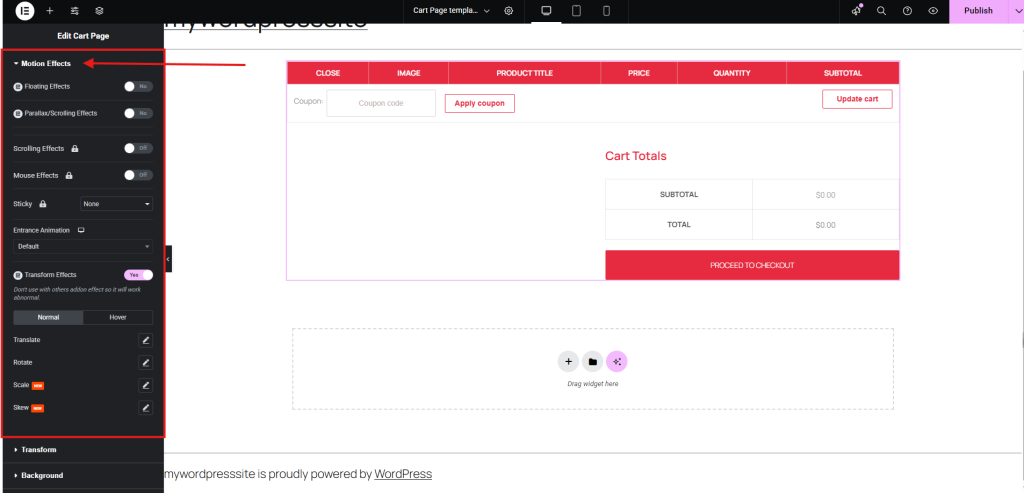
- Motion Effects: Animate items as they load or scroll into view, fade, slide, zoom, etc.
- Transform: Add custom attributes to enhance functionality. For example, inserting a data-tracking-id on the checkout button helps integrate with third-party analytics or A/B testing tools.
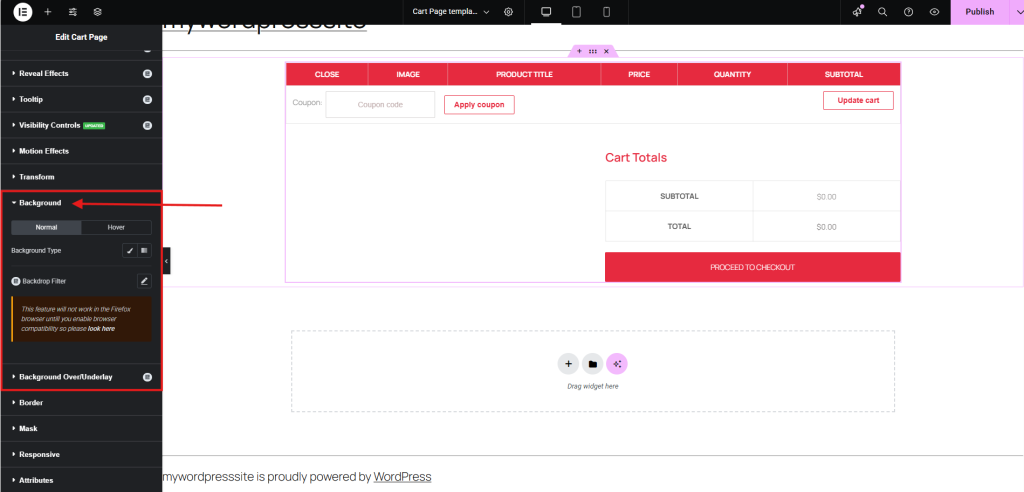
- Background: Set solid colors, gradients, or background images.
- Responsive: Adjust display rules per device, hide widgets, or modify sizing.
Happy with the look? Click the Publish button to save your changes.
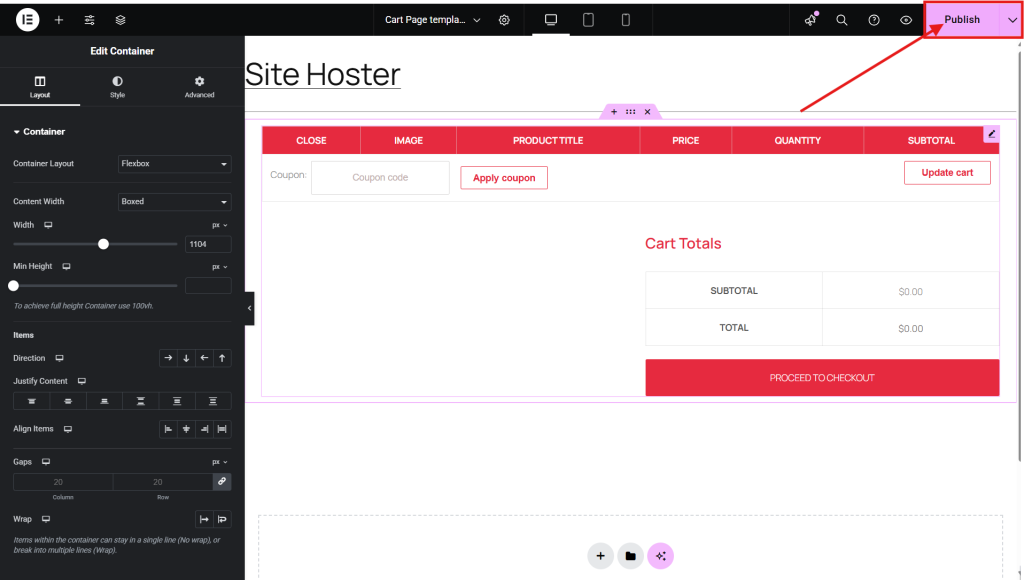
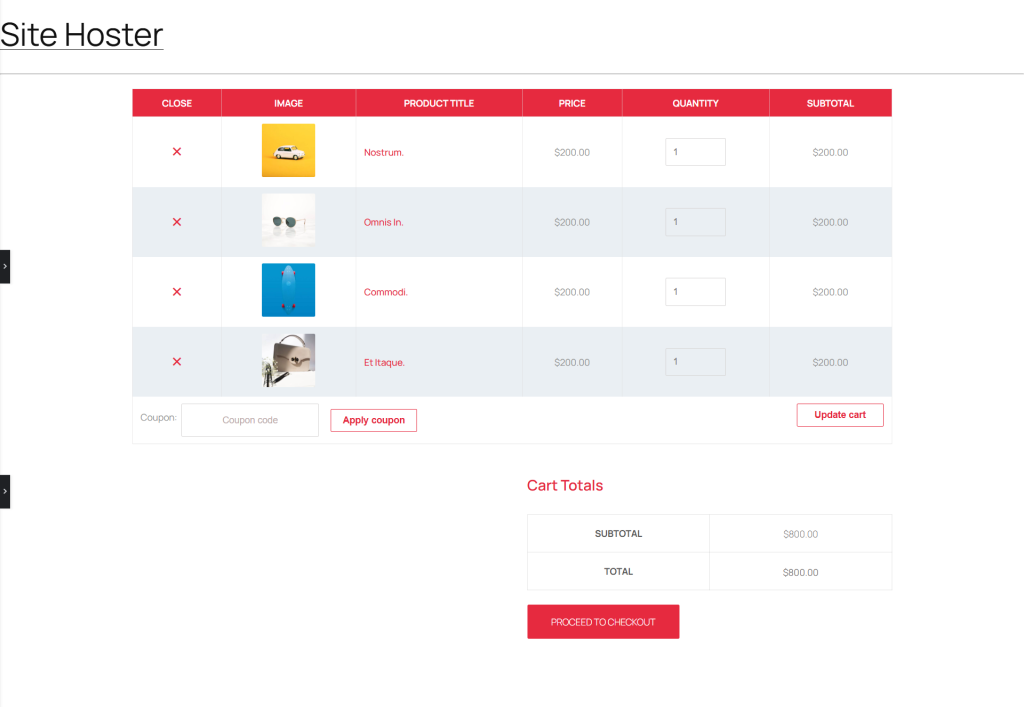
Finally, it is our Cart Page preview :
Pro Tips to Improve WooCommerce Cart Page
Let’s elevate your cart page UX by combining smart design with real-world examples. Here’s how to do it:
1. Simplify the Layout
Start by keeping things clean and uncluttered. For example, remove unnecessary sidebars and keep the cart section centered. If you’re targeting mobile users, go with a single-column layout to avoid pinching and zooming.
2. Highlight Key Actions
Your main buttons should pop. Use color contrast and spacing to draw attention. You can try this, like make the “Proceed to Checkout” button a bright accent color like #28a745 green, so it stands out against a white background.
3. Enable Inline Editing with AJAX
Give users the ability to change item quantity or remove products without reloading the page. You can install a third-party plugin to make quantity edits seamless and real-time.
4. Add a Progress Bar
Let your customers know how far they’ve come in the process. Insert a visual progress indicator above the cart, such as: Cart > Shipping > Payment. It eases decision anxiety and lowers bounce rates.
5. Display Trust Signals Near Totals
People decide to buy when they feel safe. Add icons for SSL security, “100% Money-Back Guarantee,” or payment partner logos right under the cart totals to boost confidence.
6. Use Cross-sells Wisely
Add relevant product suggestions without overwhelming the layout. If someone adds a phone, suggest a screen protector or case just below the cart table, not in the sidebar where it can be missed.
7. Design for Mobile Responsiveness
Your cart should look and feel smooth on small screens. Use sticky bottom bars for checkout buttons and collapse coupon forms into toggle sections to save space.
8. Minimize Distractions
Every visual element should have a purpose. Avoid flashing banners or unrelated product carousels in the cart. Keep users focused on completing their purchase.
9. Be Transparent with Costs
List out all charges. Display a cost breakdown like: Subtotal + Shipping + Tax – Discount = Total. Don’t wait until checkout to reveal shipping fees.
10. Use Exit-Intent Offers (Optional but Powerful)
Catch users before they abandon the cart. Use a tool like OptinMonster to show a discount pop-up when someone moves their cursor toward the back button.
Frequently Asked Questions (FAQ)
How to generate the WooCommerce cart page?
WooCommerce usually creates the cart page automatically during installation. But if it’s missing:
1. Install Ultimate Store Kit Plugin
2. Enable Widget: WP Dashboard > Ultimate Store Kit > WC Widgets > Search “Cart (Page)” > Toggle ON > Save
3. Create Template: Go to Template Builder > Click Add New Template > Select Cart Page
4. Design with Elementor: Drag Cart Page widget into layout > Customize design (colors, layout, spacing)
5. Publish: Click Publish to make it live
How do I add a cart in WooCommerce?
1. Install Ultimate Store Kit
2. Enable Widget: Dashboard > WC Widgets > “Cart (Page)” > ON > Save
3. Create Template: Template Builder > Add New > Select Cart Page
4. Design: Use Elementor to drop in the Cart Page widget > Customize
5. Go Live: Hit Publish and you’re done!
Where do I set the cart page in WooCommerce?
1. Go to WooCommerce > Settings > Advanced
2. Under Page setup, find the Cart page dropdown
3. Select your cart page and save changes
How to create a new checkout page in WooCommerce?
1. Install Ultimate Store Kit Plugin
2. Enable Widget: Dashboard > Ultimate Store Kit > WC Widgets > Search “Checkout (Page)” > Toggle ON > Save
3. Create Template: Template Builder > Add New > Select Checkout Page
4. Design with Elementor: Drag the Checkout Page widget into the layout > Customize checkout page and styling layout.
5. Publish: Click Publish, your checkout page is now live!
Conclusion
To wrap this up, I’ve walked you through the full process of building a WooCommerce Cart page with the Ultimate Store Kit, from enabling the right widget to customizing layouts in Elementor. Every part of this guide was aimed at helping you build something practical, effective, and aligned with real user behavior.
If you’ve followed along, you now have a solid workflow that you can apply confidently, whether for your own store or client projects. Clean structure, smooth interaction, and full control, that’s how a cart page should work.
Please do not hesitate to leave any questions or comments in the space provided below. Wishing you all the best!
If this article resonated with you, remember to subscribe to our newsletter for more captivating articles, updates, and special offers sent straight to your inbox. Furthermore, follow us on Facebook, X, and YouTube to keep yourself informed.
You can read another blog: